How I Began
I made new covers for the living room throw pillows. The colors were exactly what I wanted, but after, I noticed that the blue curtains I had hanging did NOT go with the new color scheme.Going through all the fabric I found nothing that worked. Then I remembered another garage sale sheet I had. It was white, which was too bright for what I wanted, but there was plenty of fabric.
Since the sheet was 100 percent cotton, I decided to dye it. I first consider tea dyeing, then thought coffee dyeing would produce a darker color. An internet search turned up several tutorials, and I found this one to be most helpful. What I really liked was I reused the coffee grounds that I normally threw out each day.
Saving coffee grounds was not a problem! I took a large plastic container and added my grounds to it each day. If I had a bit of black coffee left, I poured that in as well.
What You Need
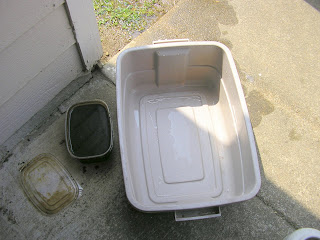
- Deep plastic container for soaking fabric in
- Leftover coffee grounds
Instruction
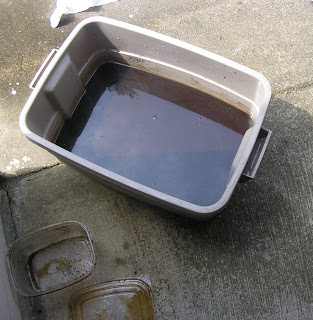
Be sure to do this outside!!! I am serious - it will make a mess.1) Into the old storage container, I dumped in the coffee grounds, leftover sludge, and some additional water.
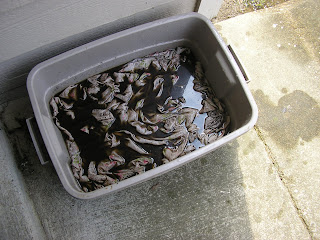
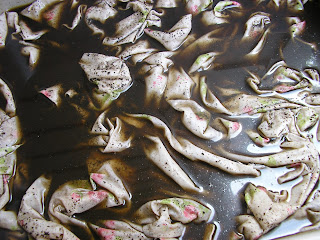
2) Mixed it well and added the fabric, making sure there was enough liquid to cover the sheet. Then, I mixed it around and rubbed the grounds into the fabric to get a bit more color.
3) Then I let it sit and soak. After about 15 minutes, I shifted the fabric around. And waited some more. Another 15 minutes, and more shifting. And more waiting.
In all, I let it soak over an hour, trying to get the color dark enough. Then I added some vinegar to the water (the tutorial I referenced suggested using alum, which I did not have, or vinegar. I didn't really measure it, just poured some in - probably about 1/3 cup) and let it soak about 15 more minutes.
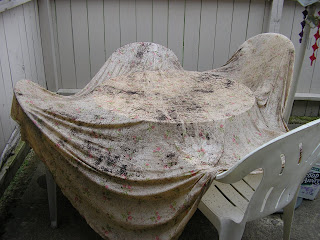
4) I pulled out the sheet, wrung out as much liquid as I could, and draped the sheet over my patio table and chairs to dry. Since I did not rinse the sheet (because I did not want to remove the color) there were a lot of coffee grounds stuck to it. They do fall off as the fabric dries which is why this project should be done outside! I dumped the grounds and liquid in the grass.
5) On a warm and breezy day, the fabric should dry in a few hours (and out of the sun, so it wouldn't bleach any of the color out). I shook it well to get all the dried coffee grounds off and looked at the color. It was pretty much what I expected.
Then I used a dry iron to iron the fabric and help set the color.




No comments:
Post a Comment